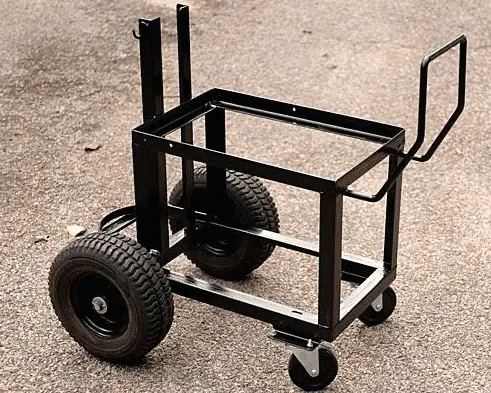
If you’ve done any research on welding carts, you know that it is one of the more expensive welding accessories that you can buy. But there’s good news! If you have a welding machine and some free time, a DIY welding cart can potentially save you some dough. It can also give you some great welding experience and the satisfaction of knowing you built your equipment yourself! Of course, it’s still a solid idea to check out our reliable welding carts reviews, just in case you want to go the ready-made route.
In this guide, we’ll walk you through the steps to assemble your very own welding cart. No need to spend the extra money on an expensive ready-made cart. Just get the necessary materials and you’ll be able to impress your friends and family with your own custom cart!
How to Make a DIY Welding Cart—A Guide

While this guide is a great place to start when crafting your own DIY welding cart, we should note that it’s not comprehensive. You’ll still want to refer to other resources and information for your particular welder and set up to ensure the best results.
That said, our general guide can get you started on the right foot and give you an idea of what to expect as you embark on this project.
Just be sure to check our guidelines against your materials, equipment, and/or welding cart plans before you proceed through each step.
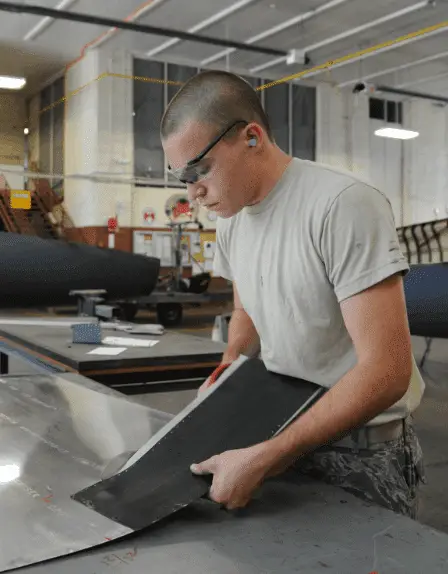
Also, as with any home construction or welding project, it’s of the utmost importance that you follow proper safety procedures and use adequate safety gear.
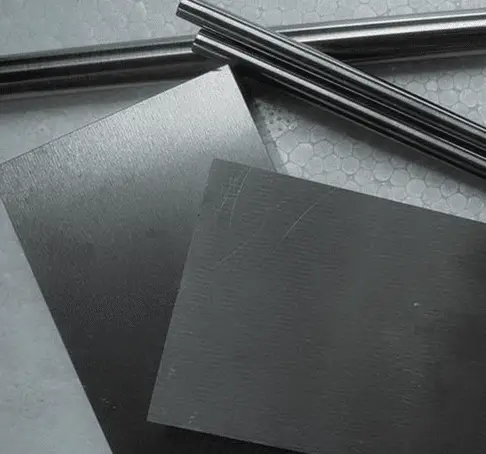
Get the Metal You Need
The first step is pretty obvious: you need some metal (and maybe a little mettle, too). You can find the required angle iron at decent prices from bargain or thrift shops.
Or, if you want to do a little bit of hunting around, you can surely find the metal parts you need from your local steel yard. We especially like this second option because in doing so you might find some interesting metal pieces that will give you some ingenious welding cart ideas that we haven’t even thought of!
Just make sure that the metal components you get are appropriate for the equipment and materials you plan to use to construct your cart.
Marking for Cuts

Next, get out your speed square and the pen you use for marking your metal. Then, simply mark your metal pieces according to the desired dimensions of your completed welding cart. A basic two-shelf cart is probably the best choice if you are an inexperienced welder.
Be sure to get the exact measurements required for your particular plan or personal design. You don’t want to have to go back to the steel yard again after cutting off too much from your metal pieces.Once you’ve marked your cuts, you’re ready to make the actual cuts.
A good option for the cutting step is to use an angle grinder with a cutoff wheel, as the handheld nature of the grinder promotes greater precision. Then, be sure to clean up your cuts before you move on the the next step.
Don't forget that the majority of the welding carts have one important design feature - they are angled. We covered that in Why are welding carts angled?
Lay Out and Fine Tune
Now, lay out your freshly cut metal pieces as they will be assembled. Doing so will allow you to determine if you need to perform any more fine tuning to ensure that the corners will match up perfectly. Make sure to use a bench vise to lock down what you're working with to maximize precision and safety.
You can use a bench grinder, for instance, for any of this fine tuning work. Remember, the goal is for your corners to meet up perfectly, creating a perfect square for your welding cart shelf.
Tack and Weld!
Before you get right into welding these pieces together at the corners, it’s a good idea to first perform “tack welds” on each. To tack weld these corners, you simply make a small weld at the joint, rather than welding a full joint. It’s important that you don’t weld a full bead at this point. That will come when you perform the full weld on the opposite side of your assembly.
Once the tack welds are set, you are ready to turn the full assembly over and complete your final, full weld on each of the corner joints.
Complete Both Shelf Frames
Since this guide is for DIY welding tables or carts with two shelves, your next step is to perform the same process in the past steps once again. The result will be two completed shelf assemblies.
You should take as much care as possible to ensure that both shelf assemblies are as square as possible and free from any warping. If one or more of these shelf assemblies are warped at this point, it will mean you’ll have a major headache when it comes to pulling everything together for the finished product. Care and precision now will pay dividends later when the full assembly comes together easily and correctly.
Vertical Frame Pieces
Now that you’ve completed two perfectly square and un-warped shelving assemblies, you’re ready to prepare the vertical pieces for the welding cart’s frame.
You’ll mark and cut these vertical frame pieces is much the same way as you did for the shelving pieces. The big difference is the angle. Here, you’ll obviously need to mark and cut for a 90 degree angle on each for the frame to come together correctly.
Tack Up Frame
For this next step, you might want to use some magnets to support the vertical frame pieces in an upright position as you tack up the frame to the shelving assembly.
Remember, you are simply tack welding the frame pieces to the shelving assembly at this point, not completing full welds. This is to allow some movement with the weak welds at first, so you can make any adjustments that might be necessary. If you move too fast and complete full welds at this stage, you won’t be able to make these adjustments to ensure a square and sturdy finished product.
Add Full Welds to Frame
Now comes the part where you can add full welds to your frame pieces, permanently joining them to the shelving assembly.

Obviously, you’ll complete this step twice, along with the previous step, once for each shelving assembly. This is where the tack welding step becomes so useful.
It allows you to make any adjustments for each of the assemblies to the frame pieces, guaranteeing a solid cart in the end.This is also a good point in the process to do any grinding of the welds that you might want.
It’s not a necessary step, but if you want your finish product to look uniform and without messy welds showing, you’ll want to complete this step as well. Note that this is also a good way to determine just how strong your welds are. Some have found that by grinding the welds down, they discovered some of their welds were too weak and needed another pass.
Weld Axle to Frame
Next, you need to weld your axle to the frame of the welding cart. For the axle, any standard metal rod will do, as long as it’s straight, long enough, and able accommodate the size of the wheels you intend to attach.
You also might want to drill some holes in the axle with a drill press. This will allow you to attach cotter pins to keep the wheels from sliding back and forth along the axle.
Be sure to make enough passes on the axle weld to make sure all of the gaps between the round rod and the square cart frame are sufficiently filled in. You definitely want this to be a strong, reliable weld.
Weld Handle
If you’re sampling wanting a DIY welding table, then you can certainly skip this step and the previous one. However, if you want your welding cart to be mobile, you’ll need to attach some kind of handle.
If you have leftover materials from the axle rod, you can use that to craft a decent handle.
Fix Those Weak Welds
Once you’ve gotten your cart fully assembled, take the extra time to go back and fix any weak welds. A little extra work here will save you time and headaches—and potential catastrophe!—later on.
Paint Frame
Now it’s time to make it pretty! Once you’ve fixed up any weak welds and cleaned them up, you’re ready to paint!
Shelf Boards and Add Wheels

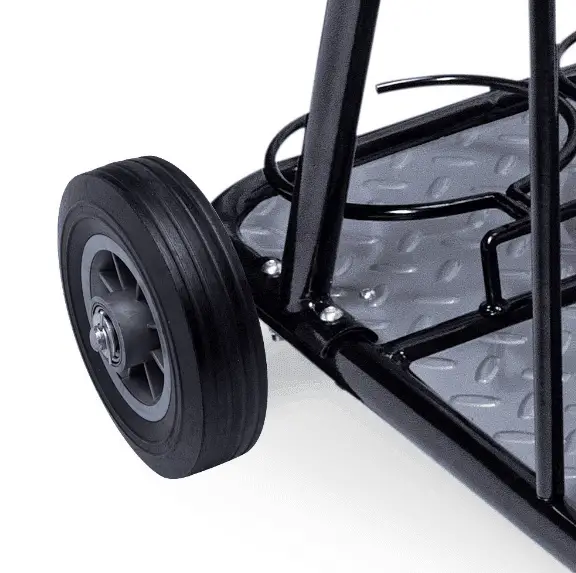
Once you’ve prettied up your homemade welding cart, all you have left to do is add some sturdy shelf boards and wheels. Do yourself a favor and get some quality wheels that will be able to clear shop debris more effectively.
You also might want to put the finishing touch of cutting a hole in one shelf to securely accommodate your gas bottle.
And that’s it! You now have one of the best DIY welding carts on the block! Now, you just have to show it off to all the admiring onlookers!
FAQs
1. What can I weld to make money?
Earn Money With these following Welding Projects
- Fire Pit Made of Steel
- Coffee Table Made of Welded Steel.
- Stool Made of Welded Steel.
- Deer Hoist with Welding.
- Splitter for wood.
- Outdoor Cooking Stove.
- Truck Racks with Welding.
- Tripod Stands with Welding.
2. Can welding be self taught?
While self-teaching welding is not easy, there are numerous ways to learn and practice welding at home. Innumerable books, tutorials, YouTube videos, classes, and in-person opportunities are available to teach the fundamentals of welding. However, if you want to learn how to weld on your own, we recommend starting with MIG welding.
3. Can I run a welder at home?
You can, indeed. While a Millermatic 141 MIG welder can handle most household projects, some welders prefer to use a 220V welder at home to weld thicker steel on heavy-duty projects and achieve the necessary heat to create a strong weld.

